How to fully review the overall performance of socks5 proxy service on proxy site pyproxy?
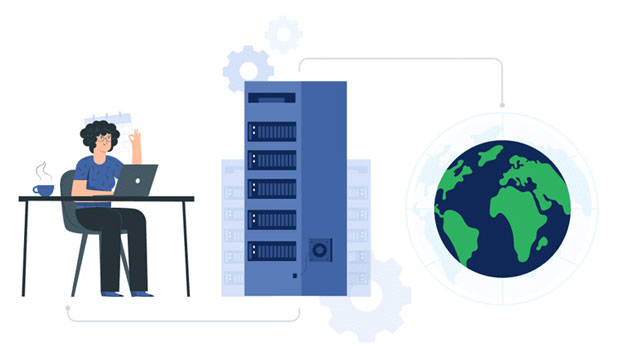
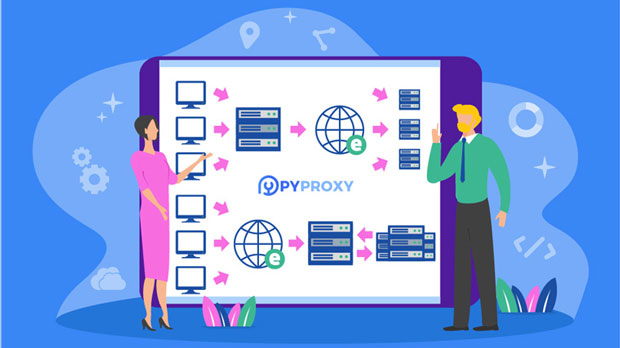
When evaluating socks5 proxy services, especially on platforms like proxy websites, it is essential to understand how to test and analyze their overall performance. A thorough assessment can help you determine the efficiency, speed, security, and reliability of the service. This article will guide you step-by-step on how to perform such a comprehensive evaluation, discussing various factors that contribute to the overall quality of sock s5 proxies. From speed testing to security checks and latency measurement, we will cover everything you need to know to make an informed decision before purchasing a SOCKS5 proxy service. Understanding SOCKS5 ProxiesBefore diving into the testing process, it is important to first understand what SOCKS5 proxies are and how they differ from other types of proxies. SOCKS5 is a protocol that provides a high level of anonymity by routing internet traffic through a proxy server. It offers greater flexibility compared to other proxy types, such as HTTP proxies, as it supports a wide range of internet protocols, including TCP and UDP. This makes SOCKS5 proxies ideal for applications requiring secure, fast, and reliable internet connections.The SOCKS5 protocol also allows for better handling of data packets, making it more efficient in bypassing firewalls and geo-restricted content. However, like any proxy service, the actual performance of SOCKS5 proxies can vary significantly depending on the provider.Step 1: Speed and Latency TestingOne of the most critical factors when evaluating SOCKS5 proxies is speed. A fast connection ensures that browsing, downloading, and streaming are smooth and uninterrupted. Latency, on the other hand, measures the time it takes for data to travel between the client and the proxy server. High latency can result in delays, negatively impacting your internet experience.To assess the speed and latency of SOCKS5 proxies, you can use tools that measure the ping time, download speed, and upload speed. Ping tests help you measure latency by sending small data packets to the server and recording the time it takes for the response to return. Speed tests evaluate the download and upload speeds, giving you a clear indication of the proxy’s ability to handle high-traffic applications like video streaming or online gaming.Step 2: Stability and Reliability TestingApart from speed, the stability and reliability of a SOCKS5 proxy are equally important. A stable connection ensures that your proxy service will not disconnect or drop intermittently during usage. To assess stability, you can conduct long-duration tests where you use the proxy over extended periods of time for everyday activities like browsing, streaming, or downloading.Reliability testing also involves checking for frequent downtimes or outages. A reliable SOCKS5 proxy should have minimal downtime and provide a consistent connection. During your tests, ensure that the service is operational for long periods without requiring constant reconnection.Step 3: Security and Anonymity EvaluationSecurity is one of the most significant considerations when evaluating SOCKS5 proxy services. While SOCKS5 proxies offer an enhanced level of security compared to other types of proxies, it is still essential to verify that the provider implements robust encryption and security measures to protect your data and online activities.Begin by checking whether the SOCKS5 proxy supports encryption protocols, such as SSL/TLS. This ensures that your data is encrypted and cannot be intercepted during transmission. Additionally, test for DNS and IP address leaks, which can compromise your anonymity. Tools like DNS leak test websites and IP address checker services can help verify that your real identity is masked.Some SOCKS5 providers also offer additional features, such as support for SOCKS5 with authentication (username and password), which provides an extra layer of security against unauthorized access.Step 4: Compatibility TestingIt is also essential to ensure that the SOCKS5 proxy you are evaluating is compatible with the applications and devices you plan to use. SOCKS5 proxies can be used with various applications, including web browsers, torrents, and streaming services. However, some services may have specific compatibility requirements.To evaluate compatibility, test the proxy with different devices, operating systems, and software. This will ensure that the service can function properly across a range of platforms, including Windows, macOS, Linux, Android, and iOS.Step 5: Geo-Location and Location-Specific PerformanceAnother crucial aspect of SOCKS5 proxy evaluation is testing how well the service performs in different geographic locations. Depending on the location of the proxy server, there may be differences in connection speed, latency, and access to content. For instance, accessing content from a geographically distant server may result in higher latency or slower speeds due to the long distance between you and the server.When evaluating SOCKS5 proxies, test the service with servers located in various regions, including those that are geographically distant from your current location. This will give you a better understanding of how the service handles different server locations and whether it offers access to restricted or geo-blocked content.Step 6: Customer Support and DocumentationA good SOCKS5 proxy service should offer responsive customer support to address any issues or questions that may arise during your evaluation. The quality of customer support is crucial, especially when dealing with complex networking issues that may require professional assistance.Test the customer support by reaching out through email, live chat, or phone to assess their response time and knowledge. In addition to support, evaluate the quality of the provider’s documentation and guides. Good documentation should provide clear instructions on setup, troubleshooting, and security measures.Step 7: Cost-Effectiveness and Value for MoneyFinally, consider the cost-effectiveness of the SOCKS5 proxy service. While cheap proxies may seem appealing, they often come with lower speeds, less security, and higher chances of downtimes. On the other hand, more expensive proxies tend to offer better reliability, speed, and security.When evaluating the value for money, consider the features provided, such as speed, security, and compatibility, relative to the pricing structure. A high-quality SOCKS5 proxy may justify its cost by delivering excellent performance across all aspects of the service.Conclusion: Making an Informed DecisionIn conclusion, performing a comprehensive evaluation of SOCKS5 proxies involves multiple steps, including speed testing, security evaluation, compatibility checks, and assessing the provider’s reliability. By following this detailed process, you can make an informed decision about which SOCKS5 proxy service best meets your needs. Always ensure that the service offers a good balance of performance, security, and value for money before committing to a subscription.
2025-03-03