What are the advantages of Socks5 proxy software PYPROXY?
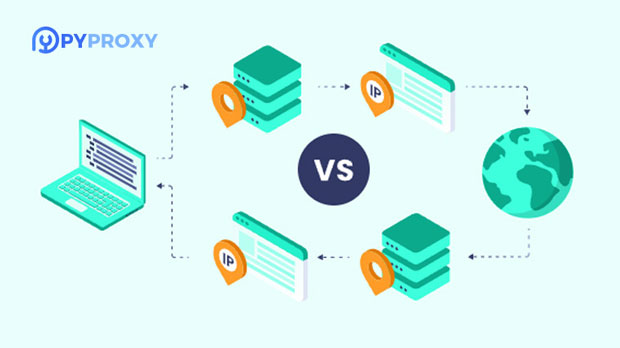
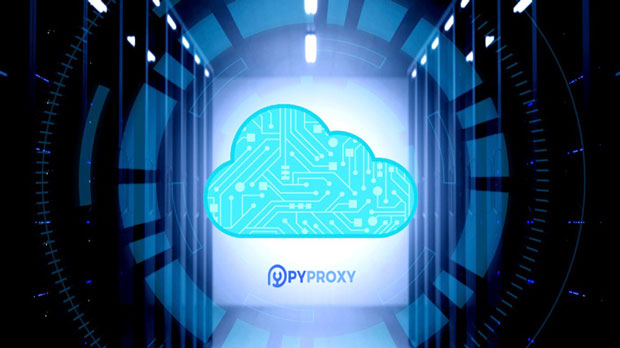
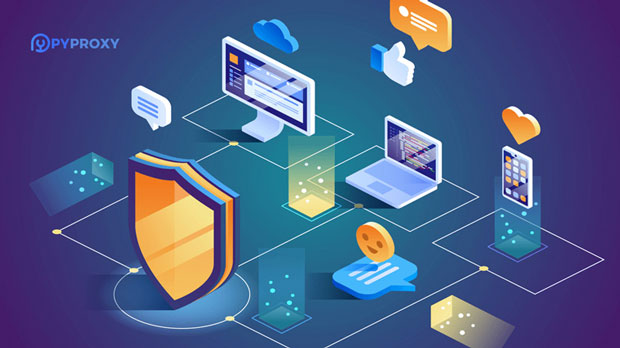
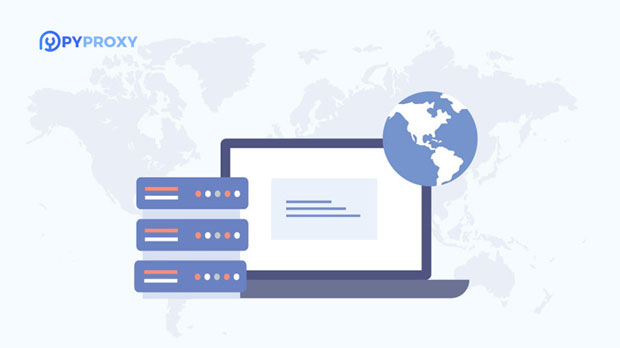
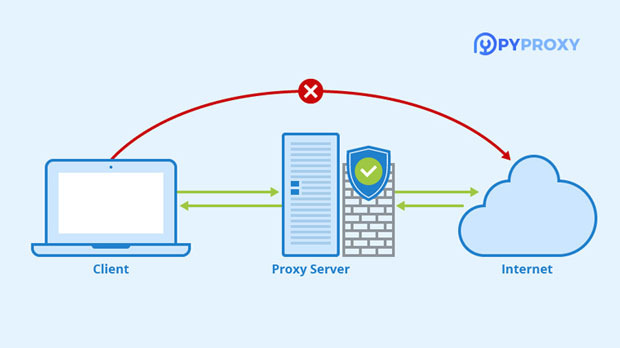
socks5 proxy software like PYPROXY offers a range of key advantages that make it an excellent choice for internet users seeking enhanced privacy, security, and online freedom. One of the most notable features is its ability to handle a variety of internet protocols, including HTTP, FTP, and more. This makes it highly versatile and suitable for different use cases. Furthermore, socks5 proxies are known for their ability to bypass firewalls and geo-restrictions, ensuring seamless access to the global internet. Additionally, PYPROXY provides an added layer of security by masking the user's IP address, protecting personal data from potential cyber threats. In this article, we will delve into the specific benefits of SOCKS5 proxy software like PYPROXY, highlighting its practical applications and the value it brings to users. 1. Enhanced Privacy and AnonymityOne of the primary reasons for using SOCKS5 proxy software is its ability to ensure enhanced privacy and anonymity for online users. When connecting to the internet through a SOCKS5 proxy, the user's real IP address is masked, and instead, the IP address of the proxy server is used. This process, known as IP masking, helps to conceal the user's identity and location from websites, online services, and even third-party trackers.This is particularly valuable for users who wish to maintain their privacy while browsing the internet, especially when accessing sensitive information, making online purchases, or interacting with personal accounts. By using SOCKS5 proxies, users can reduce the risk of being tracked, profiled, or targeted by malicious actors or advertisers.Moreover, the anonymity provided by SOCKS5 proxies can be essential for individuals living in countries with strict online surveillance or censorship laws. By masking the user's real IP address, SOCKS5 proxies allow users to browse freely without the fear of being monitored or restricted.2. Improved Security for Sensitive ActivitiesAnother key advantage of SOCKS5 proxy software is its ability to enhance security for users who engage in sensitive online activities. Whether it's financial transactions, confidential communications, or browsing on unsecured networks, SOCKS5 proxies offer a layer of protection against cyber threats.For example, when using a public Wi-Fi network, there is a higher risk of exposure to hacking attempts, man-in-the-middle attacks, and data interception. By routing internet traffic through a socks5 proxy server, users can encrypt their data and prevent unauthorized access, safeguarding their sensitive information.Furthermore, SOCKS5 proxies do not alter the data being transmitted, which means there is no risk of compromising the integrity of the original content. This makes SOCKS5 a preferred choice for secure browsing, as it does not introduce any additional vulnerabilities into the connection.3. Bypassing Geo-Restrictions and CensorshipIn today's global internet landscape, many websites and online services implement geo-restrictions that limit access based on the user's geographical location. For instance, streaming platforms may only offer content to users in certain countries, while websites might block access from specific regions. SOCKS5 proxies offer a powerful solution for bypassing these restrictions.By connecting to a SOCKS5 proxy server located in a different country, users can effectively mask their actual location and access content as if they were browsing from the proxy server's location. This makes SOCKS5 proxies invaluable for users who want to access region-locked content, such as international TV shows, movies, or online services.Additionally, SOCKS5 proxies are also effective for bypassing censorship imposed by governments or institutions. In countries where internet access is heavily monitored or restricted, using a SOCKS5 proxy can provide users with unrestricted access to the open internet. This is especially important for journalists, activists, or ordinary citizens who need access to free information without fear of government intervention or surveillance.4. Increased Speed and ReliabilitySpeed and reliability are critical factors when it comes to choosing a proxy service, and SOCKS5 proxies excel in this area. Unlike other proxy types, such as HTTP or HTTPS proxies, SOCKS5 proxies are known for their ability to handle different types of internet traffic, including video streaming, gaming, and file sharing, without compromising performance.SOCKS5 proxies do not interfere with the data being transmitted, making them faster and more efficient than other types of proxies that perform additional encryption or data modification. This results in faster loading times and smoother experiences for users, especially for activities that require a high-speed internet connection, such as streaming or online gaming.Additionally, SOCKS5 proxies tend to be more reliable than other proxies due to their minimal interference with internet traffic. They do not modify packets or attempt to optimize content delivery, making them less prone to errors or disruptions. This ensures that users can enjoy uninterrupted access to online services, even during high-traffic periods.5. Flexibility in Handling Different ProtocolsOne of the standout features of SOCKS5 proxies is their ability to handle a wide variety of internet protocols. This includes common protocols like HTTP and FTP, as well as more specialized protocols for gaming, email, and peer-to-peer file sharing.This flexibility makes SOCKS5 proxies a versatile tool for users with diverse internet needs. Whether users are browsing the web, engaging in file transfers, or playing online games, SOCKS5 proxies can seamlessly support different protocols, ensuring that users can enjoy a wide range of online activities without any issues.Furthermore, SOCKS5 proxies are capable of handling both IPv4 and IPv6 addresses, which ensures that they remain compatible with the evolving internet infrastructure. This makes SOCKS5 proxies a future-proof solution for users who require long-term compatibility with different internet technologies.6. Cost-Effective SolutionWhile there are various proxy options available, SOCKS5 proxies are often considered to be a cost-effective solution for individuals and businesses. Compared to more advanced proxy types like VPNs, SOCKS5 proxies tend to be less expensive while still offering many of the same benefits in terms of privacy, security, and flexibility.For users who are primarily concerned with masking their IP address and bypassing geo-restrictions, a SOCKS5 proxy can provide a budget-friendly alternative to other more expensive solutions. This makes SOCKS5 proxies an attractive option for individuals or businesses that need reliable proxy services without breaking the bank.Conclusion: The Value of SOCKS5 Proxy SoftwareSOCKS5 proxy software like PYPROXY offers a range of advantages that can significantly enhance online privacy, security, and freedom. From protecting user identity and data to bypassing geo-restrictions and censorship, SOCKS5 proxies provide a powerful and versatile solution for a variety of internet activities.With their ability to handle different protocols, improve connection speeds, and offer cost-effective services, SOCKS5 proxies are an excellent choice for individuals and businesses alike. Whether for personal browsing, online gaming, or secure communications, SOCKS5 proxy software provides a reliable, flexible, and secure way to navigate the online world with confidence.
2025-01-15