Your form has been submitted. We'll contact you in 24 hours.
Close
Home/Blog/How to use static residential proxies in Python code?
How to use static residential proxies in Python code?
PYPROXY·Mar 06, 2025
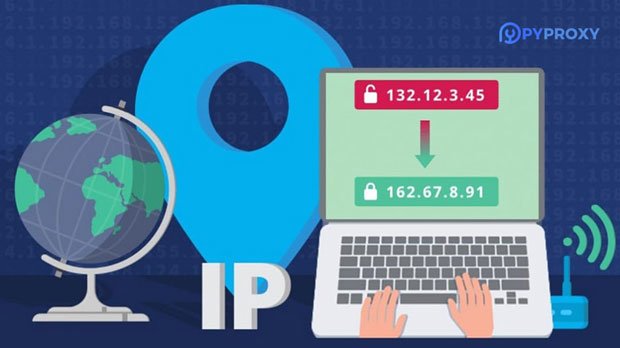
Static residential proxies are crucial tools for businesses and developers who need to ensure privacy, bypass geo-restrictions, and automate web scraping. These proxies act as intermediaries between users and the internet by masking their actual IP addresses with those of real residential devices. In Python code, using static residential proxies can significantly enhance the functionality of web scraping, data collection, and automation tasks while maintaining anonymity and preventing IP blocks.
In this article, we will explore how to effectively use static residential proxies in Python. We will discuss their advantages, provide step-by-step guidance on how to integrate them into your code, and explore some best practices for managing proxies.
Understanding Static Residential Proxies
Before diving into Python code, it's essential to understand what static residential proxies are and how they work. Static residential proxies are IP addresses that belong to real residential devices, such as home computers, routers, and smartphones. Unlike data center proxies, which are often flagged as non-human, static residential proxies appear as regular users on the internet.
These proxies are beneficial because they are less likely to be detected and blocked by websites, making them ideal for activities like web scraping, accessing restricted content, and automating tasks. In contrast to rotating proxies, static residential proxies remain the same over time, which adds an additional layer of stability for continuous tasks such as scraping a specific website.
Why Use Static Residential Proxies in Python?
Python is one of the most popular languages for web scraping and automation. By using static residential proxies, Python developers can overcome several challenges:
1. Avoiding IP Bans: Web scraping and automation can lead to IP bans if too many requests are sent from the same IP address. Static residential proxies reduce the risk of being blocked by offering a real residential IP that’s harder to distinguish from regular user traffic.
2. Bypassing Geolocation Restrictions: Some websites or services restrict access based on the user’s location. By using static residential proxies from various regions, Python developers can simulate access from different countries and bypass these geo-blocks.
3. Enhancing Anonymity: Static residential proxies ensure that users’ IP addresses are masked, offering privacy for users and data collection activities. This is especially important in sensitive projects where identity protection is a top priority.
4. Ensuring Stability for Long-term Projects: Since static residential proxies remain the same, they offer stability for projects requiring continuous connections over extended periods.
Setting Up Static Residential Proxies in Python
Now that we understand the benefits of static residential proxies, let's explore how to set them up and use them effectively in Python. We’ll break this process down into manageable steps.
The first step is to acquire a list of static residential proxies. These can be obtained through proxy providers who offer residential proxy services. Typically, a proxy provider will provide an authentication method (either username/password or API keys) and a list of proxy ips with port details.
Step 2: Install Required Python Libraries
Before using proxies in your Python code, you’ll need to install some libraries to manage HTTP requests. The most commonly used libraries for this purpose are `requests` and `http.client`. To install these libraries, you can use the following command:
```python
pip install requests
```
This library allows you to send HTTP requests while routing traffic through your proxy server.
Step 3: Set Up the Proxy in Python Code
With the proxy details in hand and the necessary libraries installed, the next step is to integrate the proxy into your Python code. Below is an PYPROXY of how to use static residential proxies with the `requests` library:
```python
import requests
Proxy details (use your actual proxy details here)
In the above pyproxy, replace `username`, `password`, `proxy_ip`, and `proxy_port` with your actual proxy credentials. The `proxies` dictionary contains the details of your proxy server, which tells Python to route the HTTP request through the provided proxy.
Step 4: Handle Proxy Rotation (Optional)
Although static residential proxies remain the same, you might want to handle multiple proxies for increased reliability, especially when dealing with a large number of requests. In this case, managing proxy rotation manually can be beneficial. You can create a pool of static residential proxies and rotate between them during requests to avoid any issues with proxy limits.
This method adds randomness, preventing the same proxy from being used continuously. It also helps in spreading the load across different proxies, ensuring that none of them become overused and potentially blocked.
Best Practices for Using Static Residential Proxies in Python
To ensure the best performance when using static residential proxies in Python, here are a few best practices:
1. Monitor Proxy Health: Regularly check the status and health of your proxies. Over time, proxies may become inactive or blacklisted. Having a monitoring system in place can help you avoid using faulty proxies.
2. Limit Request Frequency: Even though static residential proxies are less likely to be blocked, sending too many requests in a short period can still raise suspicion. Be mindful of the request frequency and implement rate limiting.
3. Rotate User-Agent Strings: Along with proxy rotation, rotating the User-Agent string (the browser identity) is essential to avoid detection. This ensures that your requests appear to come from different devices and browsers.
4. Handle Exceptions Gracefully: Implement exception handling in your code to deal with errors such as connection issues or proxy failures. This ensures your program can continue running smoothly even if a proxy becomes unresponsive.
Incorporating static residential proxies into your Python code is an effective strategy for improving privacy, avoiding blocks, and bypassing geo-restrictions. By following the steps outlined above and adhering to best practices, you can enhance the efficiency of your web scraping and automation tasks. Whether you're gathering data, automating tasks, or simply trying to maintain anonymity online, static residential proxies are an indispensable tool in any developer’s toolkit.